In this article, I’ll teach you how to script a kill brick in Roblox from scratch.
What is a Kill Brick?
Kill bricks are types of parts in Roblox that will kill any player that touches them.
How to Make a Kill Brick in Roblox Studio?
If you want to learn how to script a kill brick in Roblox from scratch, there are a few prerequisites. Don’t worry, they’re easy prerequisites!
First, you’ll want to make sure that you have Roblox Studio downloaded. If you need any help accessing Roblox Studio, please read this article.
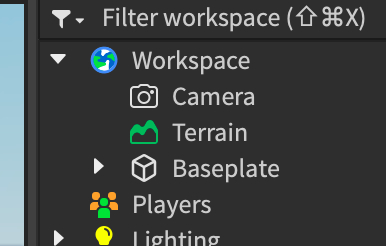
From there, you’ll want to make sure that you can view the Explorer window, and that you can also view the Properties window

At this point, you should be looking at the baseplate and spawn location.
I would recommend you remove the SpawnLocation, as it can cause problems when following this tutorial.

To do so, click on the SpawnLocation in the Explorer and press your delete key on your keyboard.
And poof! The SpawnLocation should be gone.
Building the Kill Brick
Before we can script a kill brick in Roblox, we need to build the actual brick that will kill players when they touch them.

Start by clicking on the (+) button next to the Workspace and searching for “Part”
Now, you should see a Part in Workspace.

Changing the Kill Brick’s Properties
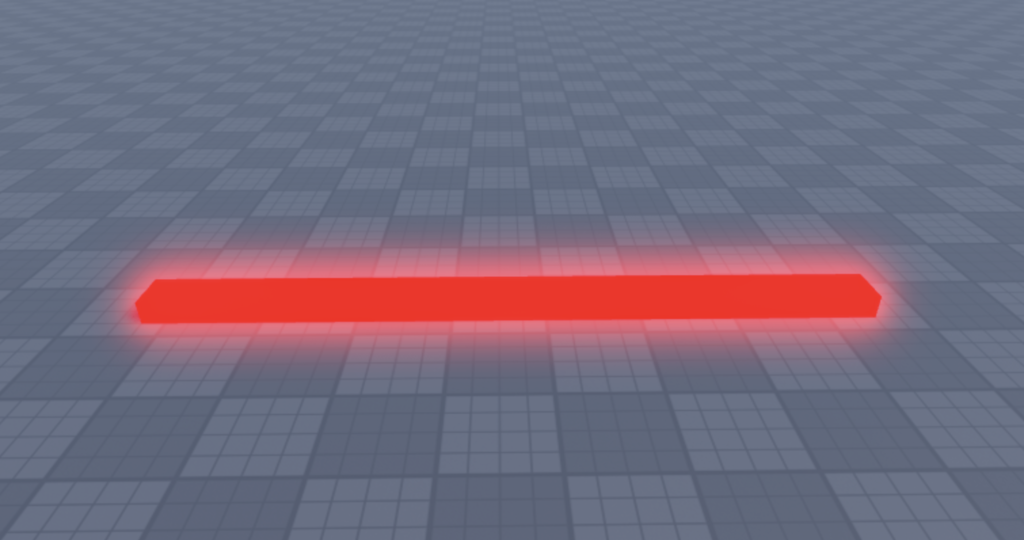
Right now, our kill brick looks like a plain old gray brick.
Let’s give it some stylish looks!
BrickColor
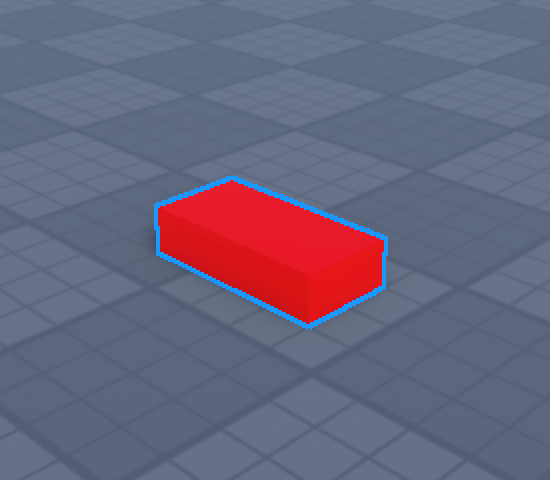
A lot of games use the color red to denote that the brick will kill you.
You can set the color of the kill brick to red by going into the Properties window and setting the BrickColor to red.

To do so, click on your Part in the Explorer.

Then, click on that “Medium stone grey” property next to BrickColor, which should open up the BrickColor palette window.

After selecting the red color, your Part should be red!
Neon Material
We can make this Part look even more killer if it’s glowing like a laser.
Set the Part’s Material to Neon using the Properties window.

And you should see our beautiful glowing part.

Size
Awesome! All that’s left for the building of our Part is making it a bit bigger.
You can use Roblox’s built-in scale tool to make the Part bigger.
Click on your Part, and click on the Scale button on the ribbon bar on the top of Roblox Studio.

I have dragged the red handles outward, making the Part longer.
Scripting the Kill Brick
All that’s left is making the kill brick, well, kill any player that touches it.
Now, I’ll teach you how to script a kill brick in Roblox.
For this, we’ll need to use a Script.
If you’re completely new to scripting, it might be helpful to view this easy tutorial for beginner scripters first.
We’ll start by adding a Script object into the kill brick.
To do this, click on the Part in the Explorer and add a Script to it, in the same way that we added a Part before.

Now, you should be looking at a:
|
1 |
print(“Hello, world!”) |
We can get rid of it, as we’ll be scripting our own kill brick from scratch.
The Touched Event
For our kill brick, we want it to do something when something touches it.
In order to set it up so that it does stuff when something touches it, we need to use a Touched event.
A Touched event basically tells Roblox “I want this object to do something when it is touched by another object.”
So, we start here:
|
1 2 3 4 5 |
local part = script.Parent part.Touched:Connect(function(hit) print(“The kill brick was touched by: “) print(hit:GetFullName()) end) |
In that piece of code, the part is referring to our kill brick.
Then, the part.Touched stuff is us telling Roblox “I want something to happen when this part gets touched by something else.”
And after the part gets touched, it will print whatever touched it (as I have denoted with a parameter called hit) on the Output.

You can test this code by pressing F5 on your keyboard, or the blue play button.

Now, if you can’t see your Output, click “VIEW” on the top, and click on the second of the tiny buttons.
And on your Output, you should see that our Script has detected that the Baseplate (the giant gray checkered thing) has touched the kill brick.
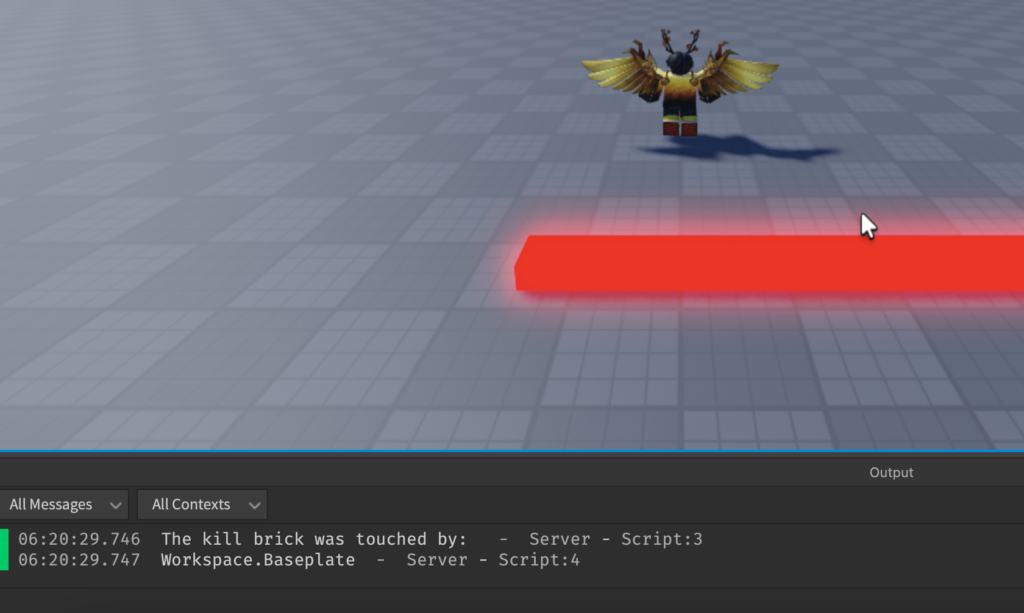
And if we walk over to the kill brick, it will print the stuff inside our character.

As you can see, our script is detecting all sorts of stuff, like:
- Our RightLowerLeg
- Our RightFoot
- Our HumanoidRootPart
- The Baseplate
The script is actually detecting the different body parts that are inside of our Roblox character that have touched the object, as well as the Baseplate.

In our code, the word hit refers to the object that has touched it.
Now, we need to tell Roblox “detect only if the object that touched it is part of a player.”
In other words, we have to perform some hit validation.
Hit Validation
Our current code will print whatever object touched the kill brick.
With a few changes, we can get it to detect only the objects that have health (like players).
|
1 2 3 4 5 6 7 |
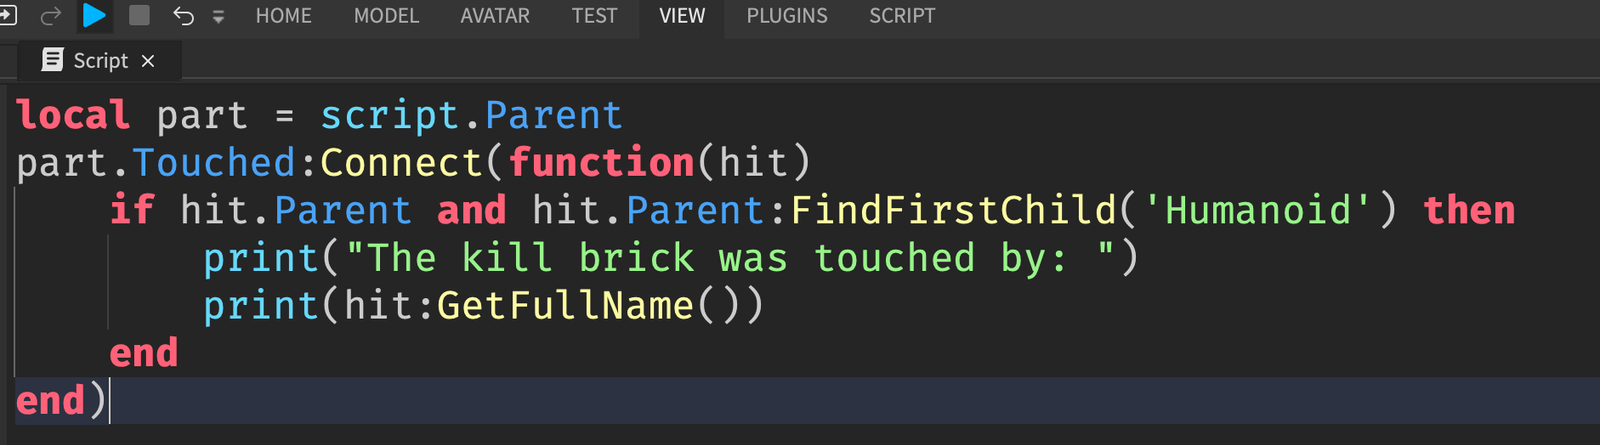
local part = script.Parent part.Touched:Connect(function(hit) if hit.Parent and hit.Parent:FindFirstChild(‘Humanoid’) then print(“The kill brick was touched by: “) print(hit:GetFullName()) end end) |
In here, we are using something known as if statements to make sure that the object that touches our kill brick has a Humanoid.
The reason we need to make sure that it has a Humanoid is because every Player’s Character has a Humanoid object, and Humanoids have a Health.

We can test our new code by pressing F5 or the blue play button.

And you can see that the Output never shows the Baseplate.
That’s because it’s only detecting objects with a Humanoid, and Baseplates don’t have Humanoids.
Players’ Characters, however do.
Killing the Player
The last step is to kill the player that touched the part.
|
1 2 3 4 5 6 |
local part = script.Parent part.Touched:Connect(function(hit) if hit.Parent and hit.Parent:FindFirstChild(‘Humanoid’) then hit.Parent.Humanoid.Health = 0 end end) |
By setting their Humanoid.Health to 0, the player that touched it will die.
Here:
hitis the object that touched the kill brick (like my RightFoot, my RightLower Leg)partis our Kill Brickhit.Parentis the characterhit.Parent.Humanoidis theHumanoidthat exists inside of the characterhit.Parent.Humanoid.Health = 0is us telling Roblox to set theHealthof theHumanoidto0.
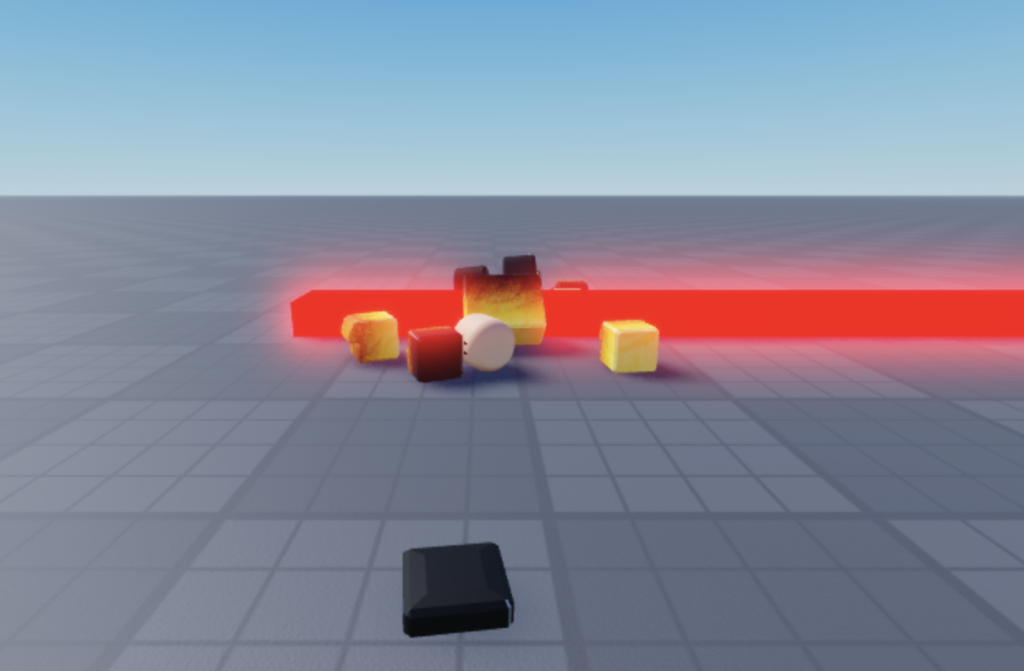
Try out your game!
What’s Next?
Great job following along with the tutorial on how to script a kill brick in Roblox!
🚀 Want to learn more Roblox scripting?
My book takes you step by step, from knowing nothing to being able to write your own scripts.
The next article that you may be interested in is turning this kill brick into a full obby.
Or maybe you want to learn how I got started learning Roblox scripting, which you can read by clicking here.