Making a Part change color when touched in Roblox is actually very simple, believe it or not. In this article, you’ll learn exactly how to make a Part change its color when it’s touched in Roblox.
Now, to do so, you’ll need to use a Script, as scripts allow you to tell Roblox to do stuff.
If you’ve never heard of a script before, please check this article on Roblox Lua.
How to Make a Part Change Color When Touched in Roblox
Start by downloading Roblox Studio and making sure that you can view the Explorer and Properties windows.
Step 1: Create a Part
The first thing we’ll have to do is create a Part in Roblox.
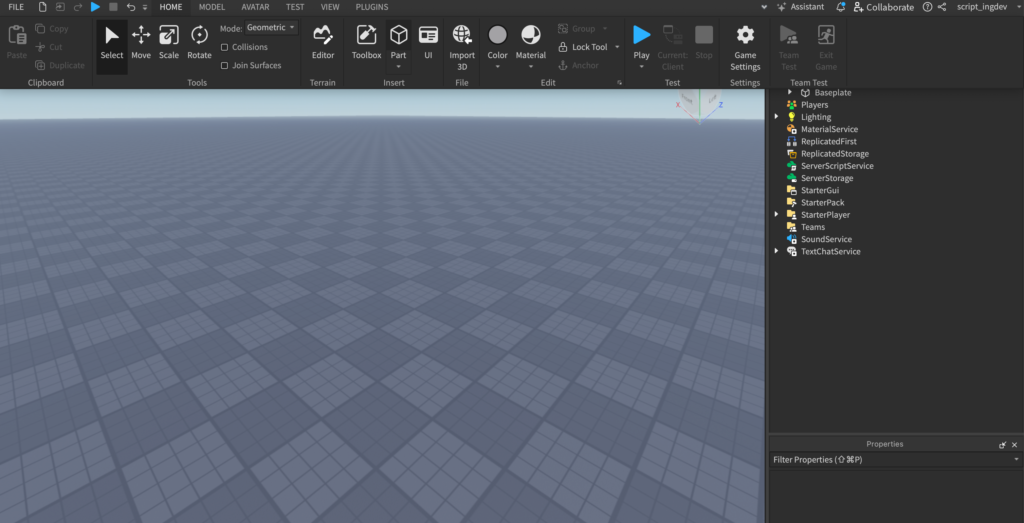
If you’re using the Baseplate template, you should be seeing a screen that’s similar to this.

Now, I’m going to remove the SpawnLocation (the small light gray block with a swirly design).
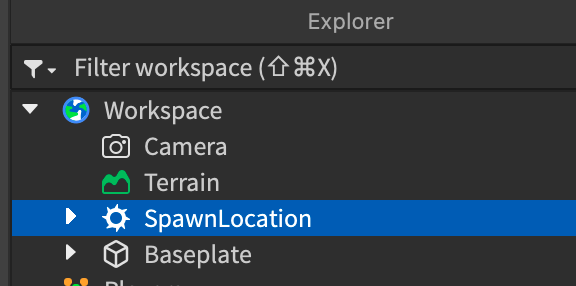
You can do so by clicking on it on the Explorer and clicking the delete key on your keyboard.
Boom! It’s gone.

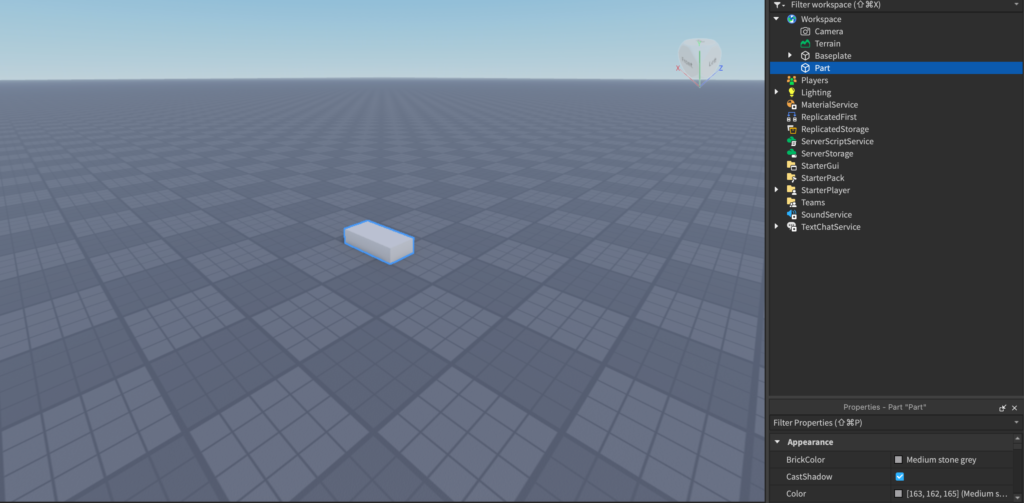
Now, we have to add a Part.
To do so, you can click on the Home tab on the top of Roblox Studio and click on the Part button to add a new Part.
Step 2: Define the Part
Now, we need to tell Roblox:
“I want this Part to change its color when it’s touched by something.”
The first part of that is “I want this Part.”
We need to tell Roblox what “this part” is referring to.
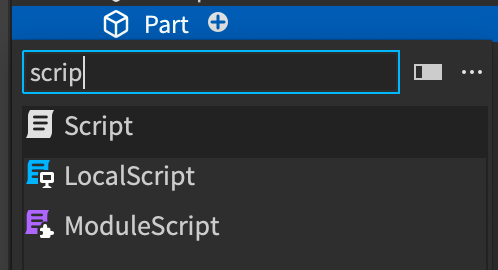
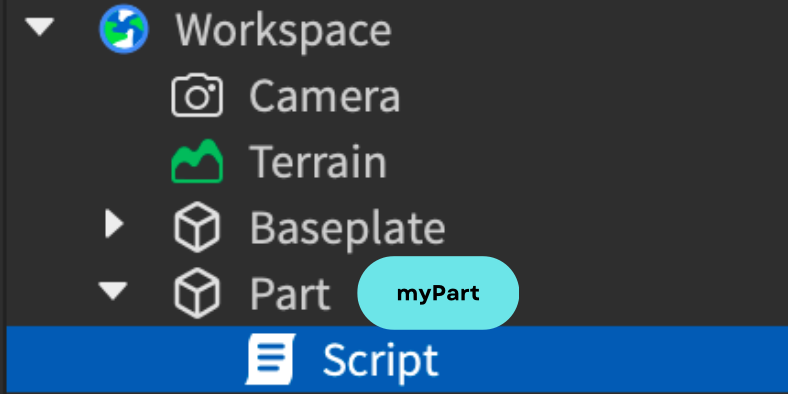
Start by adding a new Script inside of the Part.
Click on the plus button next to the Part in the Explorer and look for the word “Script” and add it in.
Now, you should be greeted with a script that says:

This is a line of code that Roblox scripts have by default.
We won’t need it for this tutorial, so you can delete it.
If you are interested in learning more about that line of code, check out this article on how to start scripting on Roblox as a complete beginner.
Now, back to our main idea, we need to tell Roblox:
“I want this Part to change its color when it’s touched by something.”
We need to tell the Script exactly what this Part is referring to.
It’s actually pretty easy!
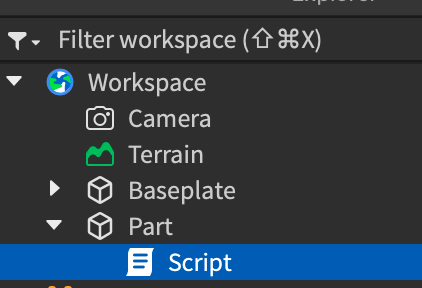
Remember how we inserted the Script inside of the Part itself?
Because of this fact..
In scripting, the Part is called the Parent of the script, and the Script is considered to be the child of the Part.
If you’d like to learn more about parents and children in the context of scripts, and you want to learn Roblox scripting itself from the beginning, check out this book, the Beginner’s Guide to Roblox Scripting, which explains everything in this article, and loads more in an easy to understand way
So, since the Part is the Parent of the script, that’s the first thing we have to tell Roblox.
|
1 |
local part = script.Parent |
The local myPart = means “Let myPart be equal to” and “script.Parent” means the actual Part itself, which is the Parent of the script.
In other words, from now on in our script, myPart is referring to the Part we added to Workspace.
Step 3: Add the Touched Event
Now, we’re going to tell Roblox to detect when something touches it.
We have to do the touched event before the color change because we only want the Part to change its color after it’s been touched by something.
So, we’re going to now handle the touched by something part.
“I want this Part to change its color when it’s touched by something.“
To do this, we can use a Touched Event.
|
1 2 3 4 5 |
local myPart = script.Parent myPart.Touched:Connect(function(thingThatTouchedIt) end) |
This code basically says “When myPart gets Touched, connect it into a function, where thingThatTouchedIt is going to refer to whatever object touches it.”
If you want to learn more about the Touched event, and events in particular, the Beginner’s Guide to Roblox Scripting book explains them in full detail.
Step 4: Change the Part’s BrickColor
Now, we have to change the Part’s BrickColor.
In other words, we’re now handling this part:
“I want this Part to change its color when it’s touched by something.”
For this tutorial, let’s make the Part change its color to a random color.
We can do this by changing its BrickColor to BrickColor.Random().
If you are unfamiliar with properties and using scripts to change the BrickColor, please view this free video I created for you:
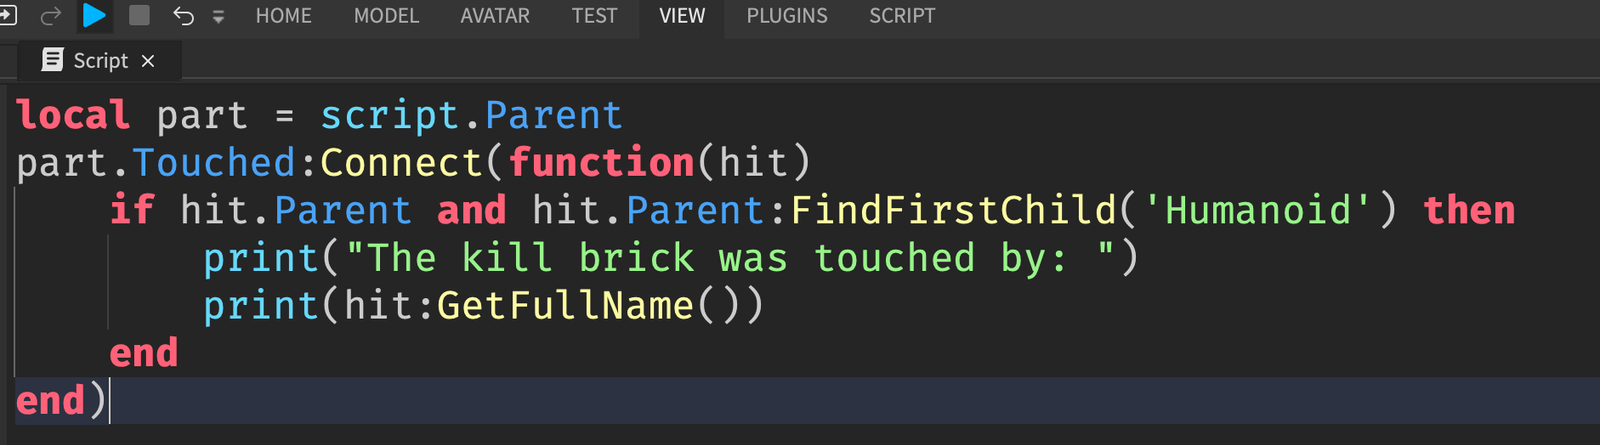
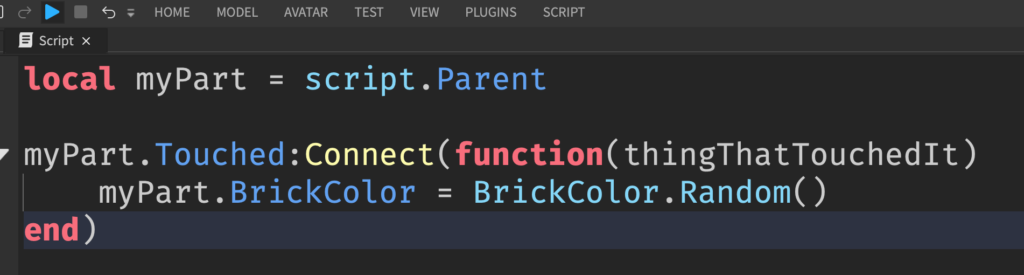
At this point, our script looks like this.
|
1 2 3 4 5 |
local myPart = script.Parent myPart.Touched:Connect(function(thingThatTouchedIt) myPart.BrickColor = BrickColor.Random() end) |
And we’re done!
Step 5: Test Your Game Out
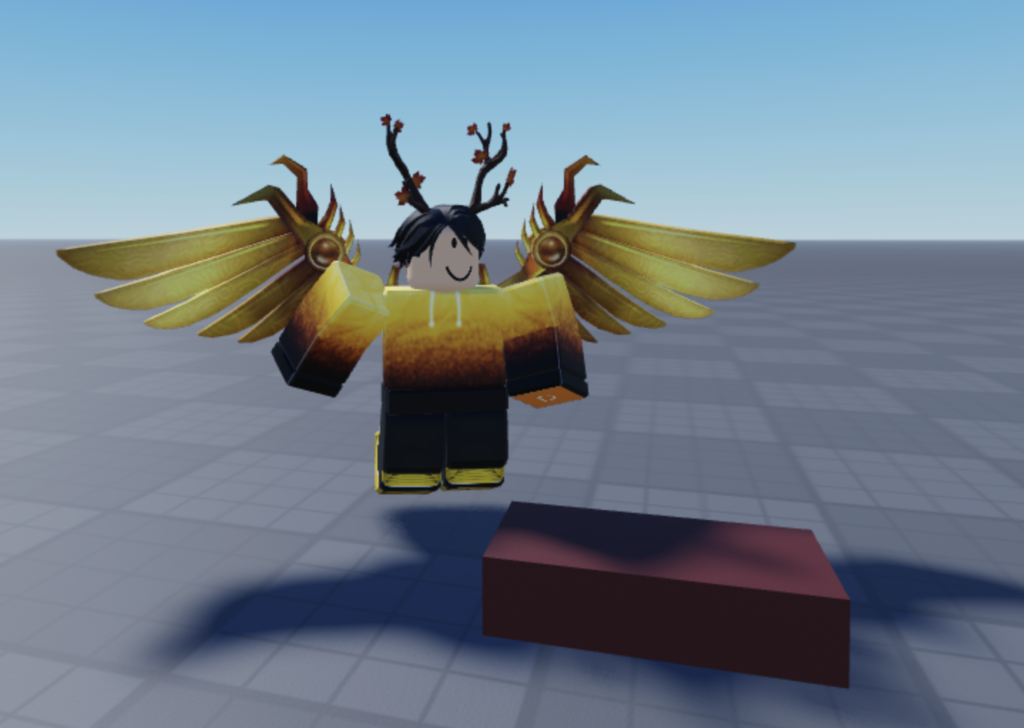
At this point, you can test your game out by clicking on the blue play button at the top.
And, when you touch the Part, it’ll be a different color:
Where to Learn More Roblox Scripting?
Great job following through with the tutorial!
You can learn more scripting through articles like this one at my blog, which you can find here at kushaltimsina.com/blog.
If you want to learn Roblox scripting from the ground up, the best place would be with the Beginner’s Guide to Roblox Scripting.
And if you’re looking for personalized help, where you can hop on a 1-1 call with me, where I’ll answer all your questions, you can check out my coaching page.
Thanks for reading!