Roblox obby games are fun obstacle courses, where players use their motor skills to navigate the course. Obby games have been around since the beginning of Roblox and they’re not going away anytime soon. In this article, I’ll teach you how to make your own simple Roblox obby game from scratch. You’ll learn how to set up your own obby game, script it, and publish it on Roblox.
By the end of the article, you’ll have a fully playable obby with:
- A spawn point
- Platforms and obstacles
- Kill bricks
- A checkpoint system
- A finish line that teleports players to victory
Step 1: Set Up Roblox Studio
Download Roblox Studio
For us to make a Roblox game from scratch, we’ll need Roblox Studio.
Roblox Studio is an application that Roblox provides us with that allows us to create Roblox games from scratch.
So, let’s start by downloading Roblox Studio.
To download Roblox studio, you can follow this tutorial.
Also, if you’re looking for a good laptop to use for Roblox game development, you can find one here.
I personally use this mouse and recommend this keyboard as well for a nice game developer feel.
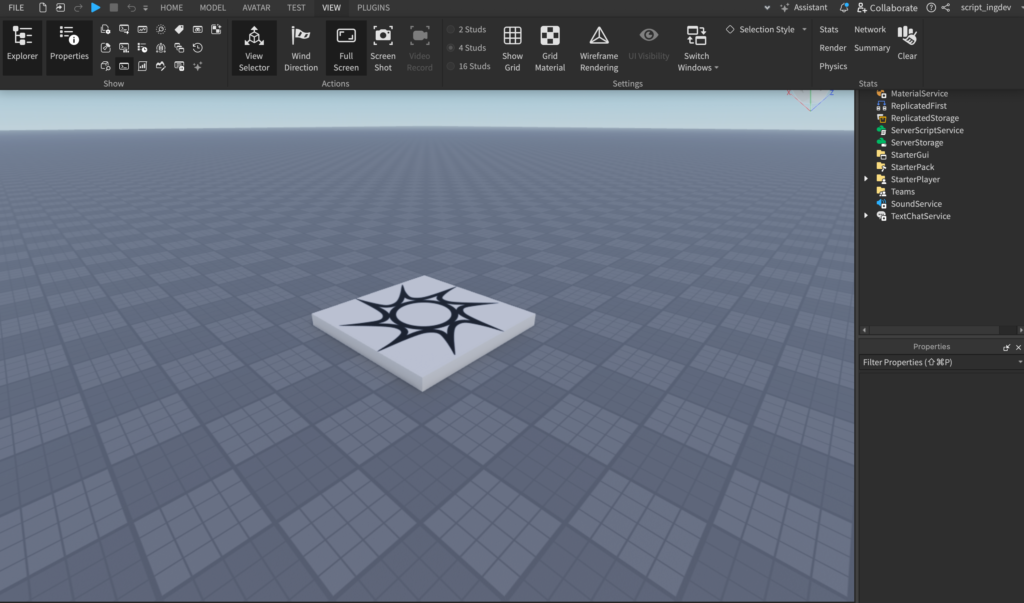
Once you follow the above tutorial on downloading Roblox Studio, you should find yourself staring at the giant gray checkered block, called the Baseplate, and the light gray block with a spiral design, called a SpawnLocation.
You should also have the Explorer and Properties windows visible on your screen.
If for some reason, the Explorer window isn’t visible on your screen, please read this article.
And if the Properties window isn’t visible on your screen, please read this article on the Properties window.
The SpawnLocation is just a block that tells Roblox where the players in your game should spawn at.
And the Baseplate is just a large block.
Removing the Baseplate
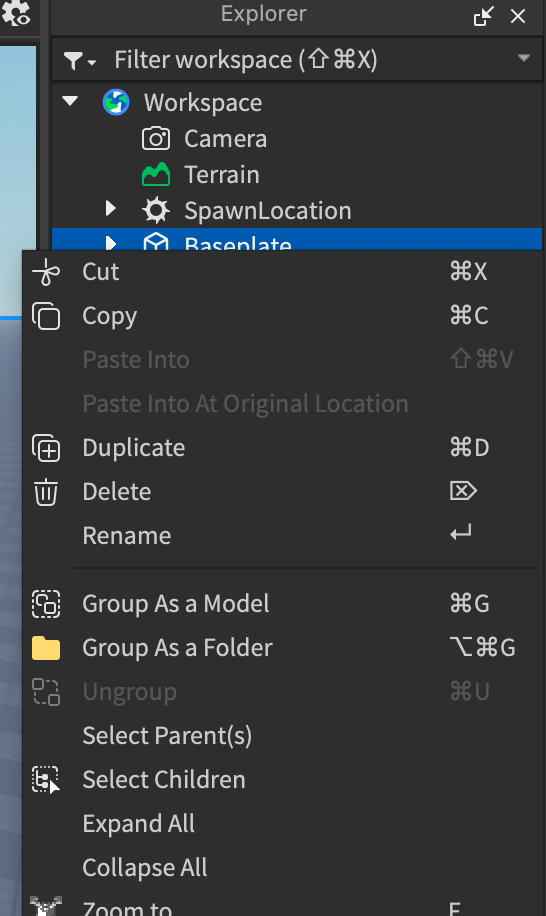
For our obby, we don’t really need the Baseplate (we’ll make our own!), so let’s remove it.
To remove the Baseplate, look for it in the Explorer, right click it, and click Delete.
Tip: You can also click on the Baseplate and use the delete key on your keyboard to remove it
Step 2: Build the First Stage For Our Roblox Game

Now that we’ve gotten rid of the Baseplate, we can start building the first stage for the obby.
Creating the Base for Our Roblox Game
The first step to make our Roblox game from scratch is to have a base (i.e the part that our obstacles will be on).
So, let’s start there.
Start by creating a new Part using Studio.
Click on the “Home” button in the top ribbon bar, and then click on the “Part” button to insert it.

Boom! A new Part has appeared right on the SpawnLocation!

First, anchor the Part, so that it stays in place when we test our game.
If you’re unsure about what the Anchored property does, I recommend reading my blog post on the Anchored Property.
To do so, select the Part, go into the properties window, and click on the checkbox for the “Anchored” property.
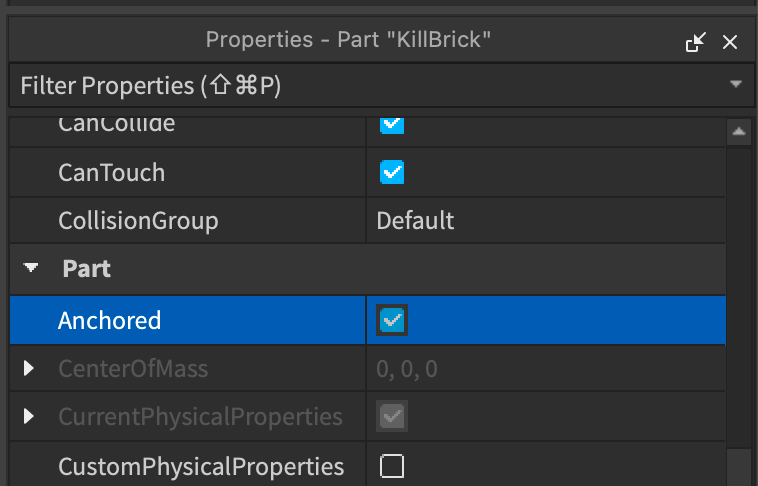
If you don’t anchor the Part, it will fall down later, which would be catastrophic for our obby!
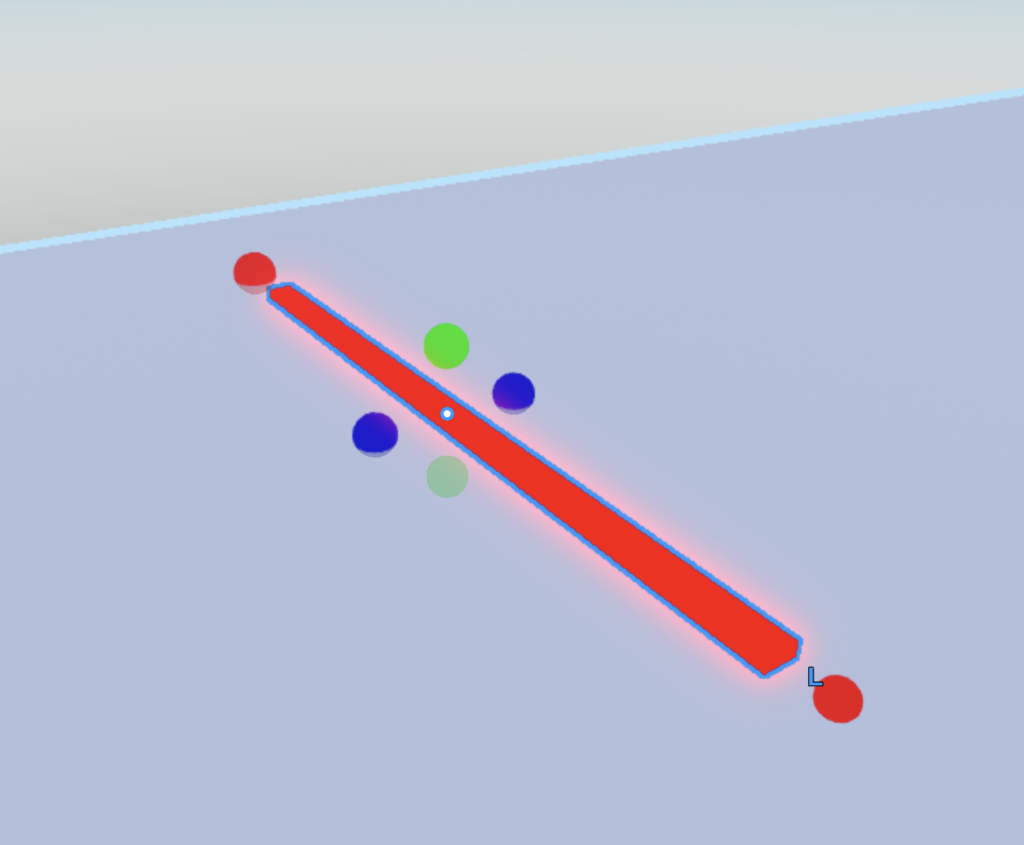
Now, we have to resize this Part, as it’s going to be the base for our obby.
To do so, you can click on the Scale button.
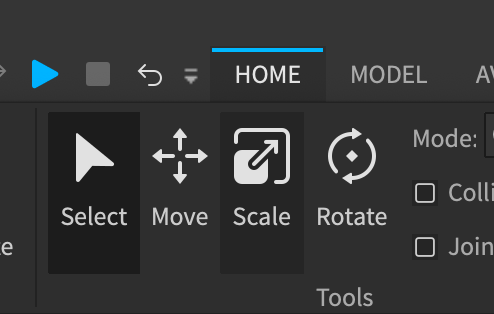
Once the scale button has been selected, you’ll see red, green, and blue balls appear near the Part.
In Roblox Studio, we call these balls handles.
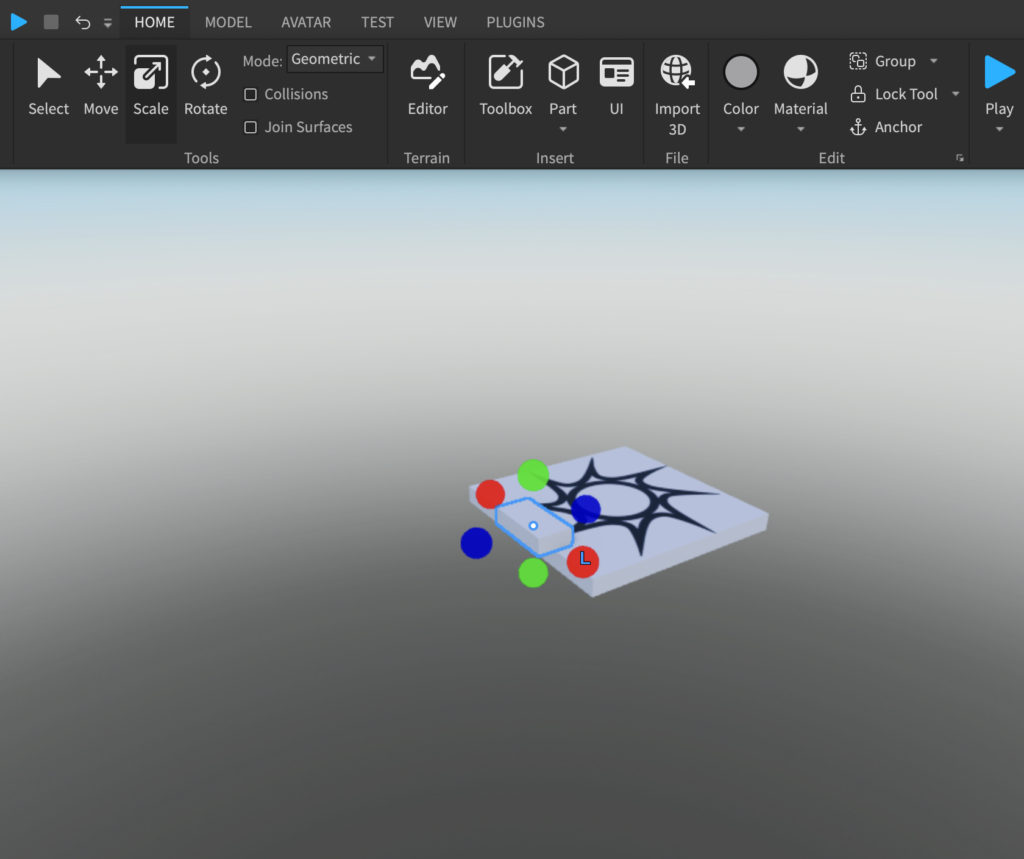
Try dragging the balls to increase the size.
Moving the Base
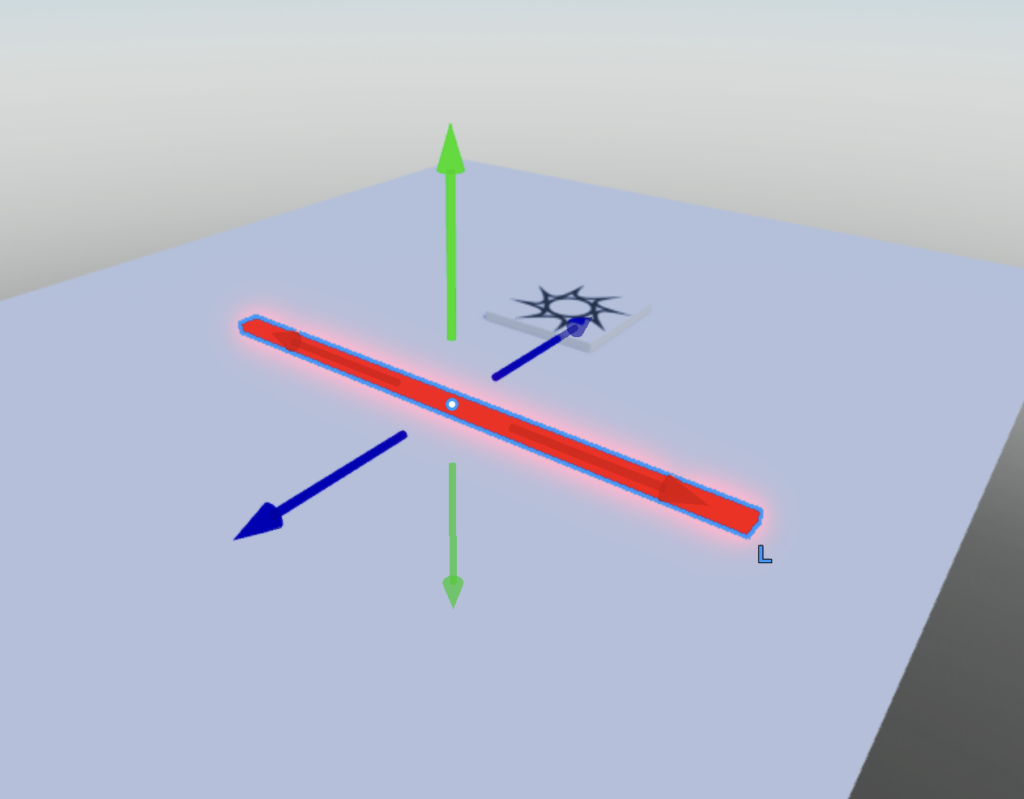
Once you have the base at a large enough size for your game, you can use the Move tool to move it around.
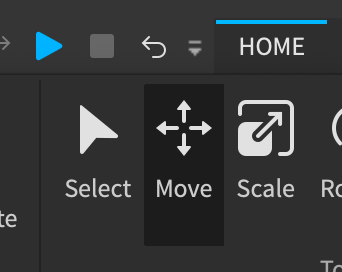
The Move tool will give you arrows that you can drag around to move objects in different axes.
Move the base and the SpawnLocation, so that the SpawnLocation is sitting on top of the base all the way at the end, as shown in the video below.
Congratulations! The base and SpawnLocations have been successfully setup.
Now, we’re ready to move onto the next part of our obby… the kill bricks.
Get excited.
Kill Bricks
Kill bricks are a type of part that kill any player that touches it.
Oftentimes, they are denoted as red parts.
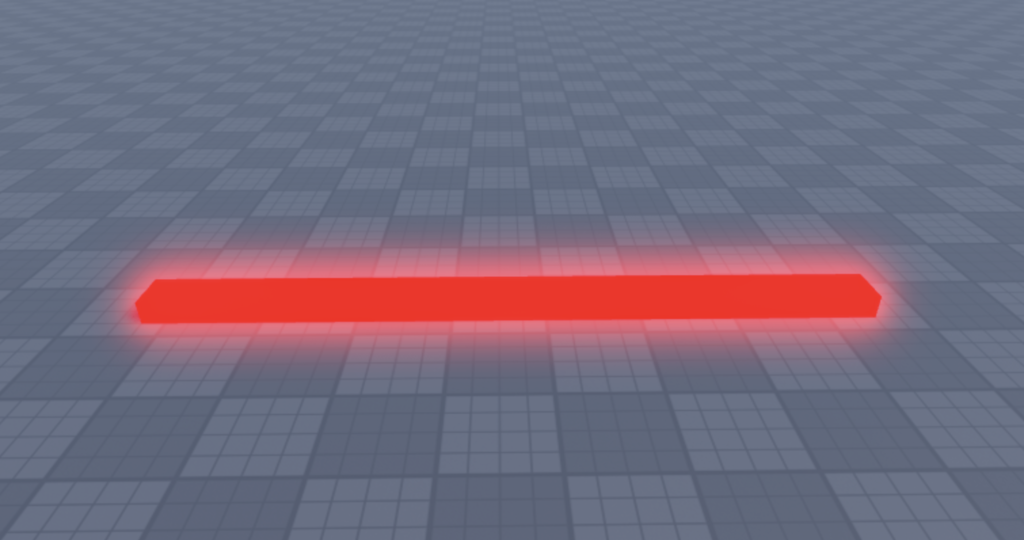
Roblox obbies have kill bricks to add stakes to their game.
Let’s add our own kill brick.
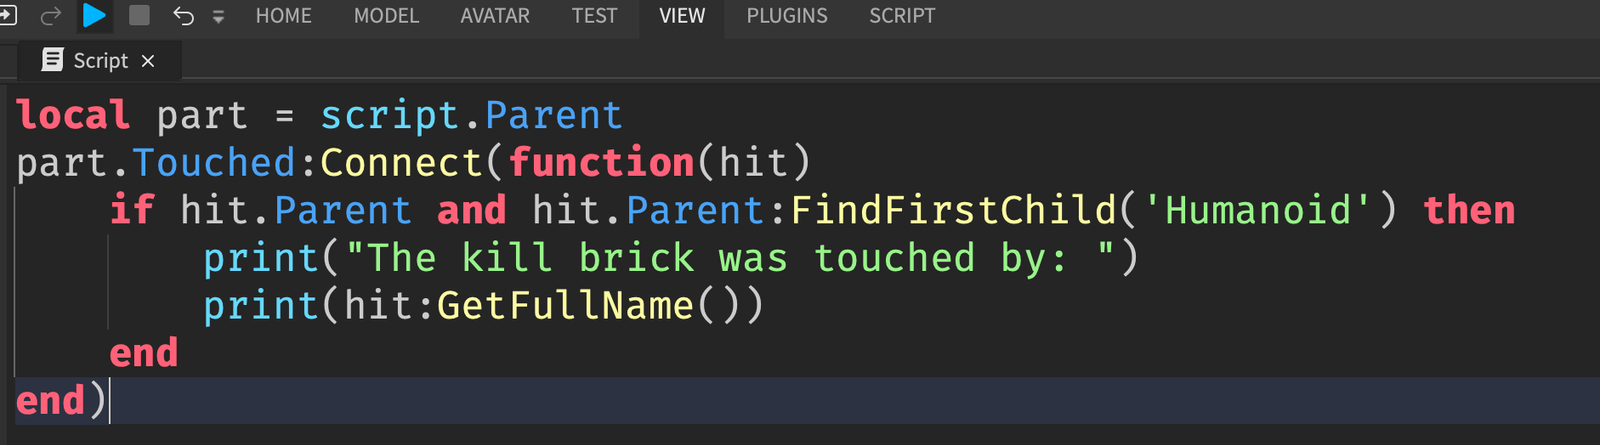
To begin with, please read this article on how to make kill bricks, so that you’ll have your own kill brick to get started with.
Now, you should have a kill brick with a script inside of it that kills any player that touches it.
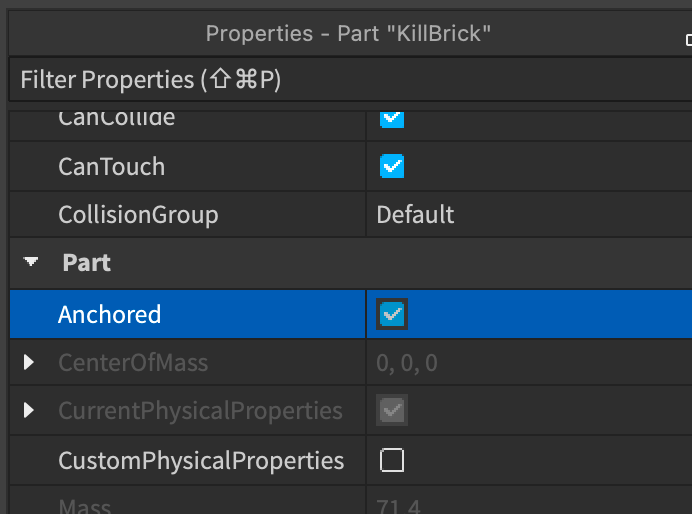
Also, make sure that the kill brick is anchored, just like our Base.
Once again, select the kill brick, go into Properties, and tick the checkbox for the “Anchored” property.
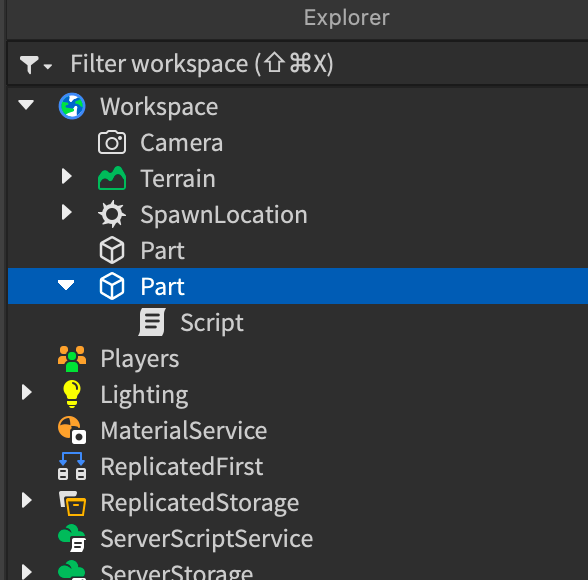
Now, since we have two Parts in workspace: one for the Base and one for the kill brick itself, I think we should rename them accordingly.
So, I’ve renamed them to “Base” and “KillBrick.”
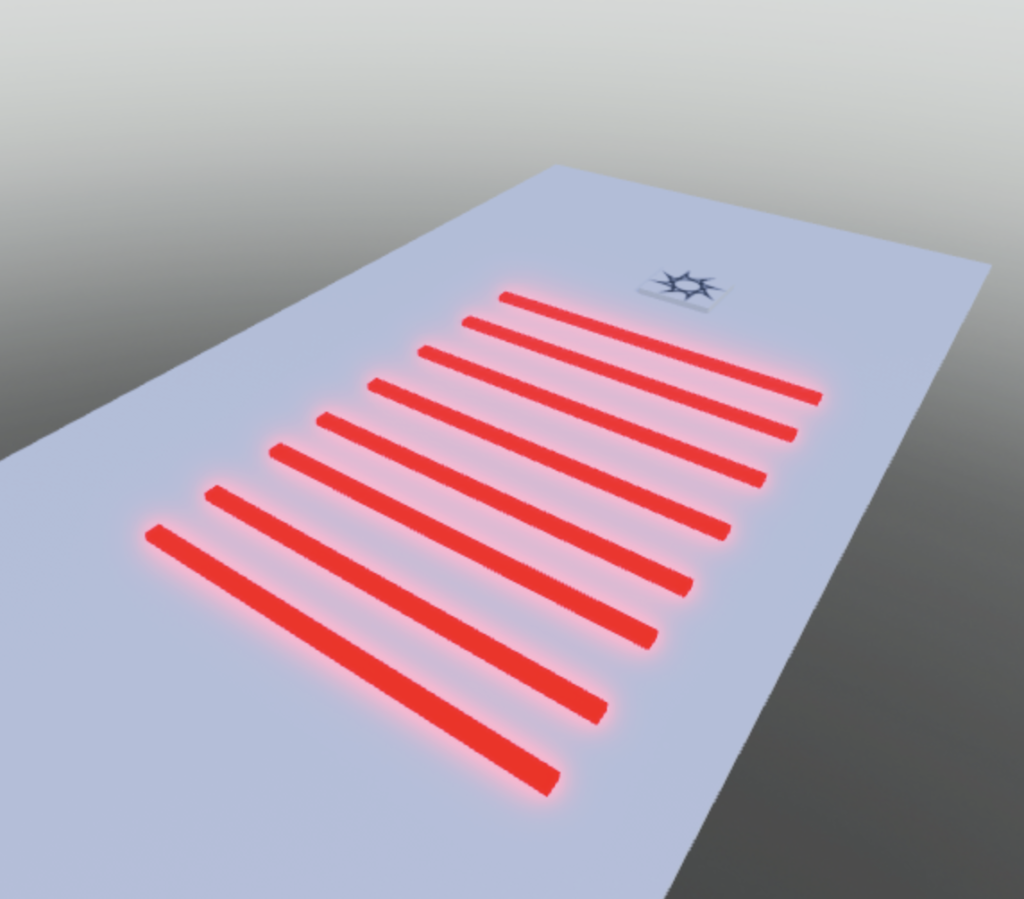
Next, let’s move the kill brick to be at the start of the obby (near our SpawnLocation).
To do this, you can use the arrow handles on the Move tool, as we did before.

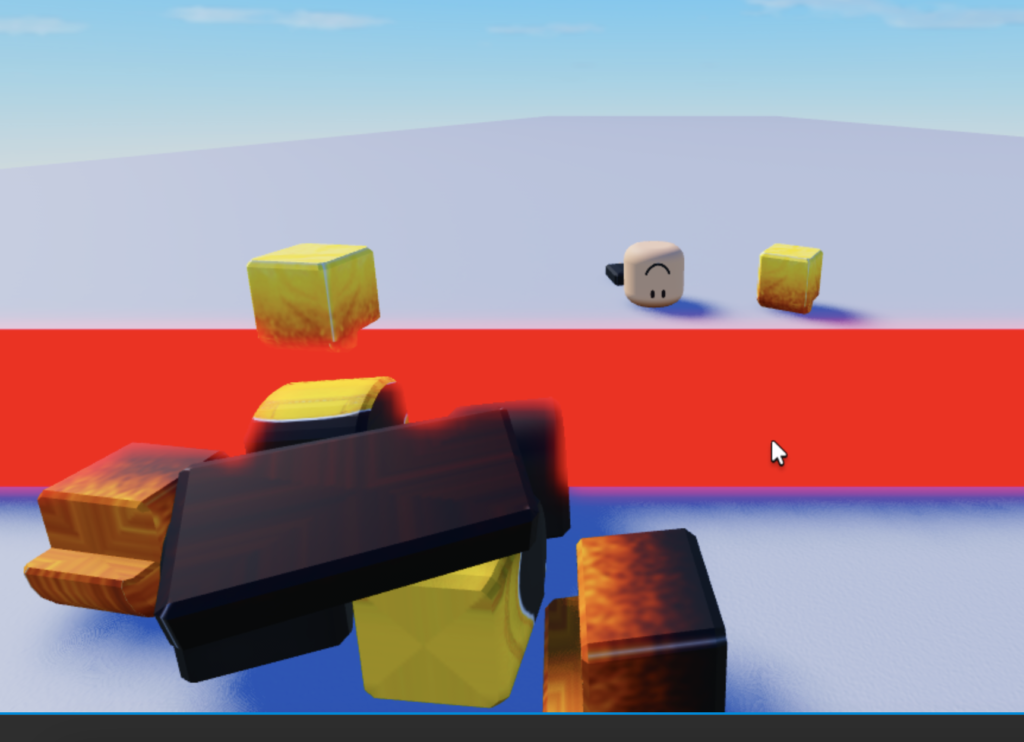
Woohoo! This looks awesome. We have our SpawnLocation, and now we’ve got our first kill brick!
You can test the game out to make sure everything works properly.
If things are falling down, make sure Anchored is on for the kill brick, base, and SpawnLocation!
If everything is working properly, you should be able to touch the kill brick and your character should die.
Congratulations! You now have an obby with a spawn, a base, and kill bricks! I’m very proud of you!
Get excited, because we’re going to add more!
More Kill Bricks
⚠️ Before we begin, a small disclaimer: Intermediate and advanced scripters don’t normally put a Script inside the Part for the kill brick like we’ve done here because it can get messy for bigger games. But for this tutorial, we’re going to continue this way, because it’s okay for learning scripting.
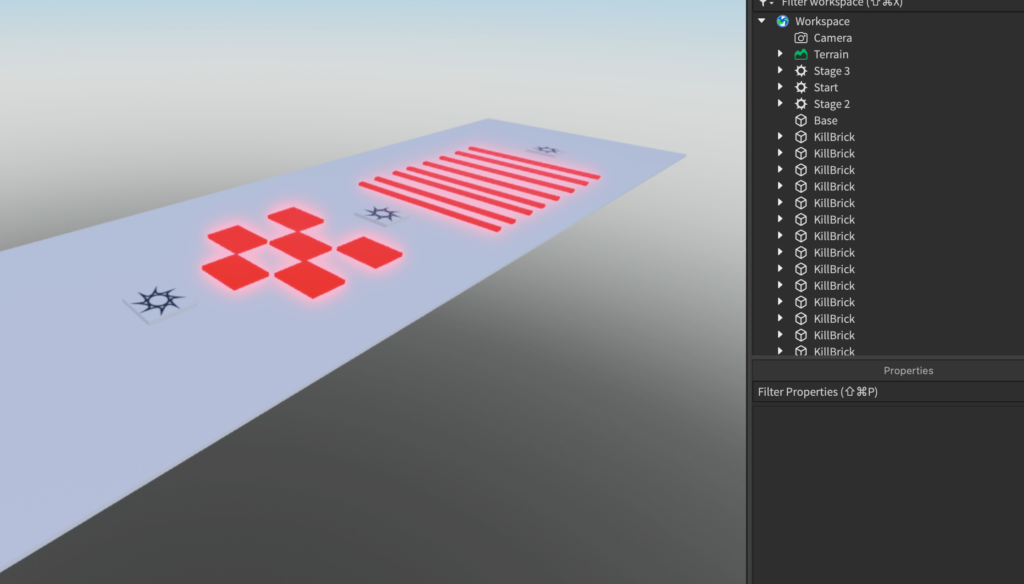
Now, let’s add some more kill bricks!
This is going to be the part where the main gameplay of the obby will be formed.
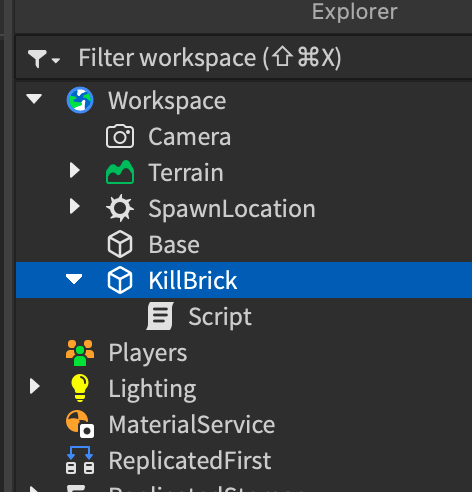
Start by selecting the Kill Brick and pressing Control + D on your keyboard to duplicate it. If you’re on Mac, you can use Command + D.
Once you’ve duplicated it once, you’ll see two Kill Bricks on the Explorer.
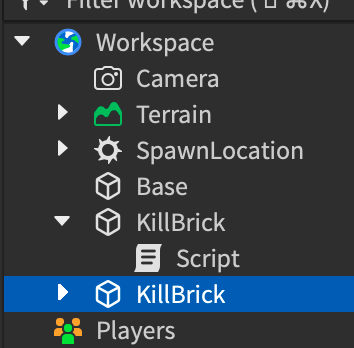
But in the game itself, it’ll look like there’s only one..
The truth is that there are actually 2 kill bricks overlapping one another in the same exact positions!
Select one of the kill bricks, use the move tool, and move it outward.
There’s actually 2!
Now, we’re just going to follow this process of duplicating the kill brick and moving the new one out of the way to create a bunch of them.
In this video, I’m repeatedly pressing control D to create a duplicate, then I’m moving the duplicate out of the way.
You can create as many as you want, but here, I’ve created a few.
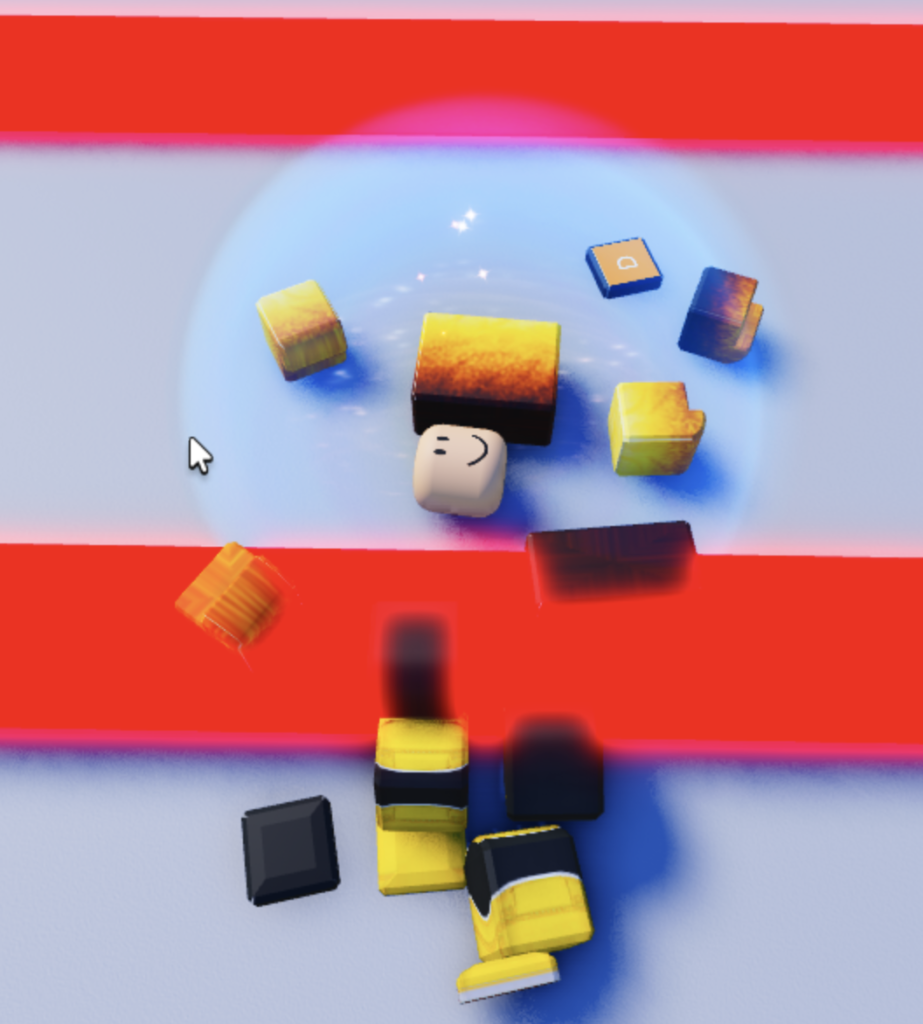
Once you’re done adding your kill bricks, try spawning and playing your game.
Can you avoid your own kill bricks?
If you’ve been having a lot of fun making your own game and reading this article, I know you’ll love my book, the Beginner’s Guide to Roblox Scripting.

My book teaches you how to script in an easy to understand way where you won’t get confused.
I think you’ll love it. You can get your own copy by clicking here.
Step 4: Add a Second Stage to the Obby
Now, let’s add a second stage to our Roblox game to our Roblox game from scratch.
In Roblox, SpawnLocations are also like checkpoints.
So far, we have one SpawnLocation, which is like our starting checkpoint.
To add a second stage to our Roblox game, we’ll add another checkpoint.
Adding the Checkpoint
Do you remember how we copied the red kill bricks?
We can do the same thing with the SpawnLocation to create a new checkpoint!
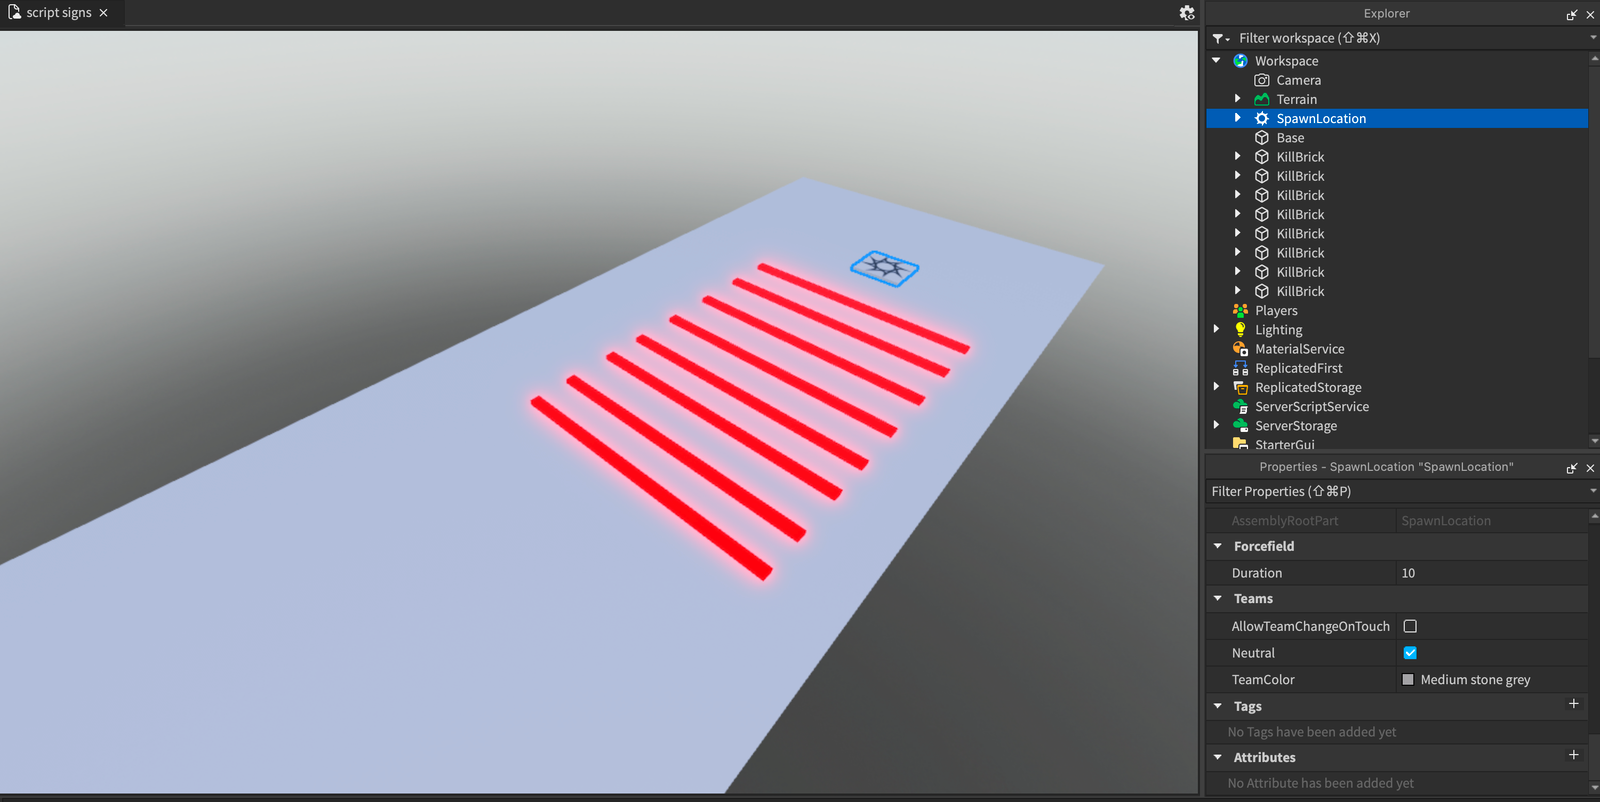
Start by clicking on the SpawnLocation, so it’s selected on the Explorer.
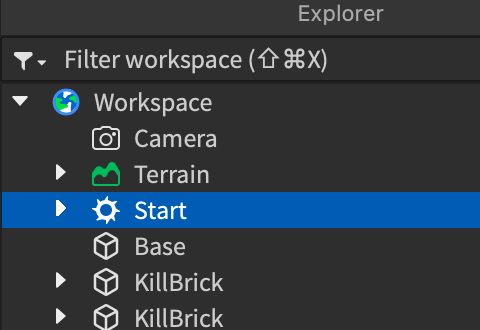
First, let’s rename it to “Start”, so that we can keep track of it easier.
Go into the Properties window and change the “Name” to “Start.”
Perfect! Now, duplicate it as we did to the kill bricks before.
On Windows, you can press Control D on your keyboard.
And if you’re on Mac, you can use Command D.
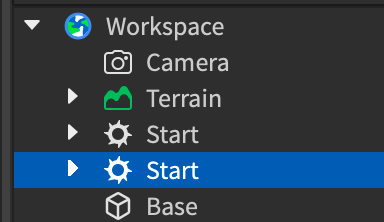
Now, you should have two SpawnLocations named “Start.”
You can take the new one and move it to where you want your checkpoint to be,

And lastly, rename the new one to “Stage 2.”
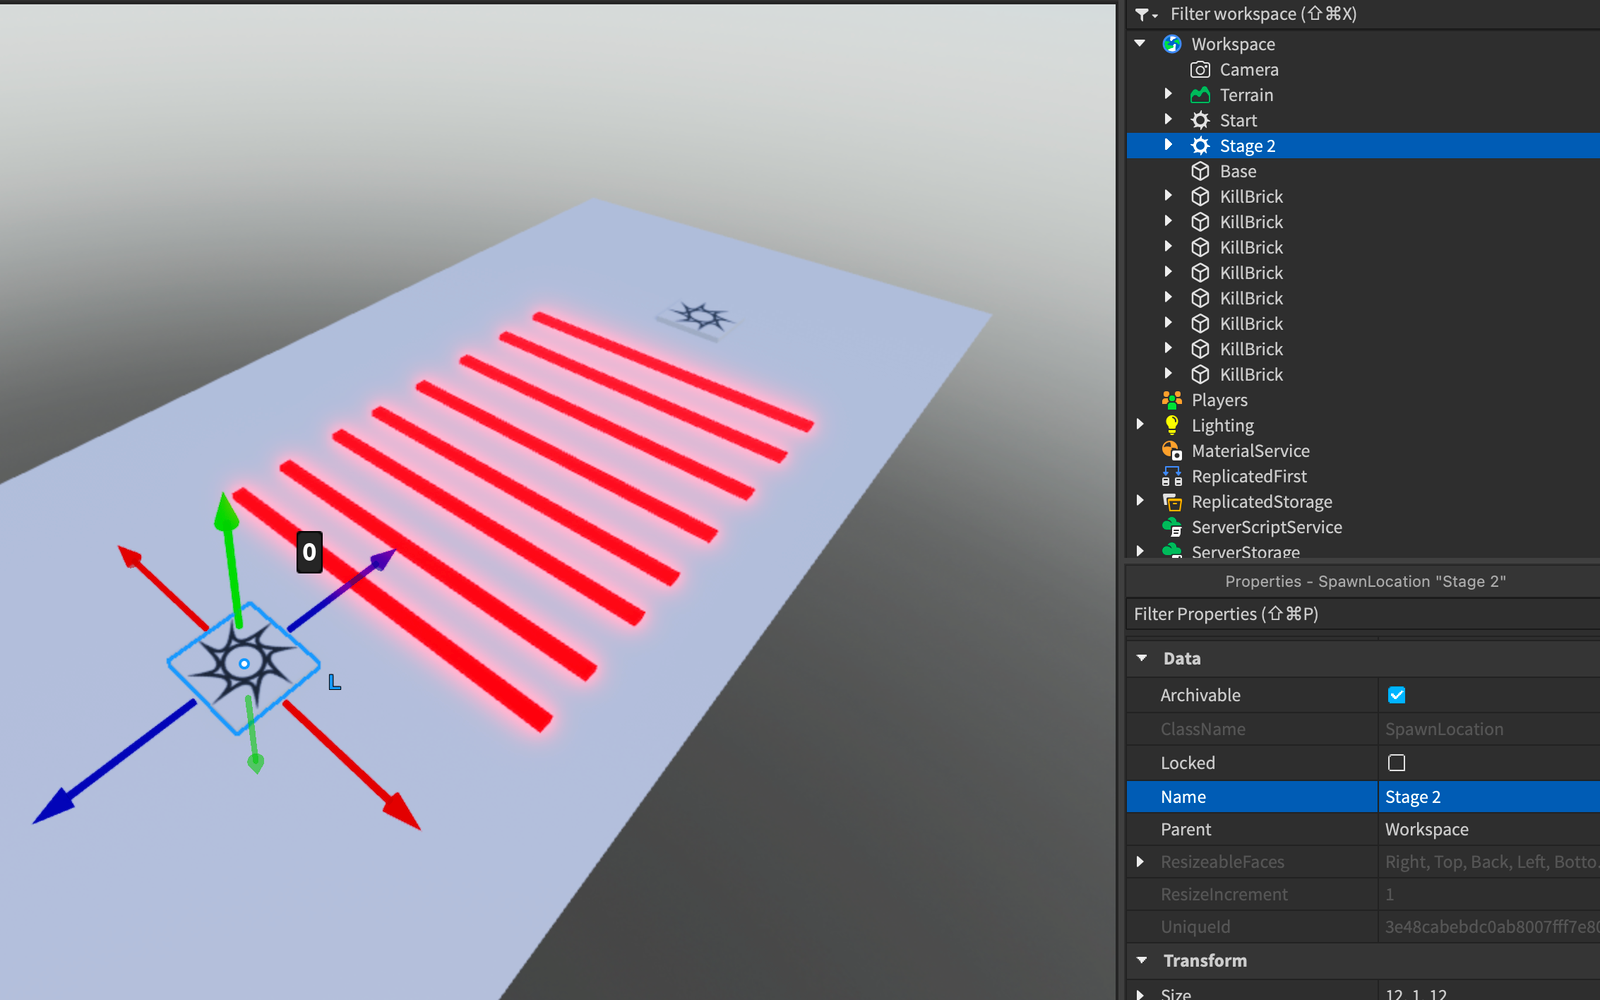
Great job!
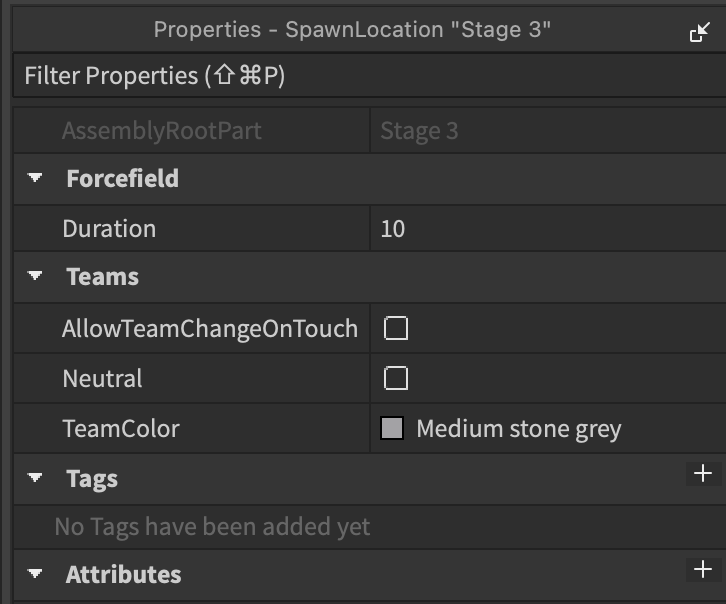
Also, in the Properties window, scroll all the way down to where it says “Neutral” and make sure to uncheck that box.
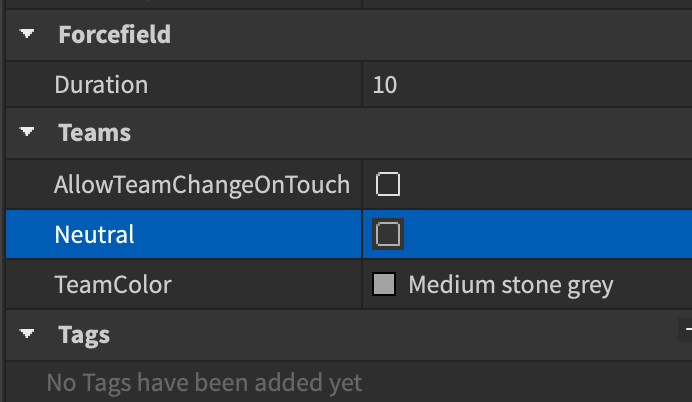
By doing this, we’re telling Roblox “I don’t want players to spawn here.”
It’s important not to miss this step because otherwise, players may spawn at stage 2 when they first start the game!
That would be horrible! (But interesting to see as a player)
And if we had 200 stages, then people will spawn on random stages between 1-200.
Some may even spawn on stage 200!
So to prevent this, we’re telling Roblox “Stage 2 (and every future stage) is Neutral. Do not let players spawn there!”
But our Start, however, should be kept Neutral, as that’s where we want our players to spawn, right?
Building Stage 2
Now, let’s start building stage 2 for our Roblox game from scratch.
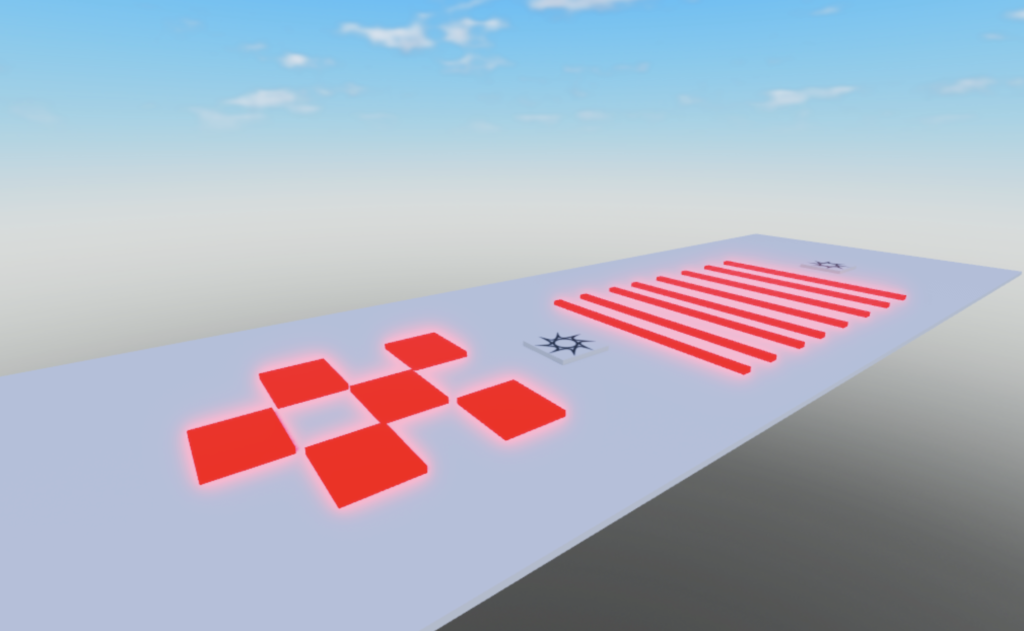
For this stage, let’s create square shaped kill bricks and arrange them in a tile format.
In the video, I followed these steps a few times:
- Click on the Kill Brick
- Resize it into a square
- Move it
- Duplicate the square
- Repeat everything from step 2
Now, it looks like this.
Adding the Checkpoint
Once again, we can add the checkpoint by duplicating our SpawnLocation and moving it past the second stage: Press Control (or Command on Mac) + D, then use the move tool to move it.
And don’t forget to rename it to Stage 2!
Now, you should have 3 SpawnLocations in your game:
- 1 for the starting checkpoint
- 1 for the beginning of Stage 2
- 1 for the beginning of Stage 3
And remember: Stages 2 and 3 should have the Neutral property disabled.
Now try playing your obby!
You should now spawn at the beginning checkpoint and you can play through your obby.

Step 5: Adding More Stages to the Obby
To add more stages to our Roblox game, you can just repeat the same process as we did in step 4, as many times as you want.
As long as you configure the SpawnLocations properly, everything will work fine.
Pretty fun!
Step 6: Publishing Your Game
Now that we’ve made a Roblox game from scratch, let’s publish your game for the world to see.
On the top left corner of Roblox Studio, look for “FILE”, and click the “Publish to Roblox” button.
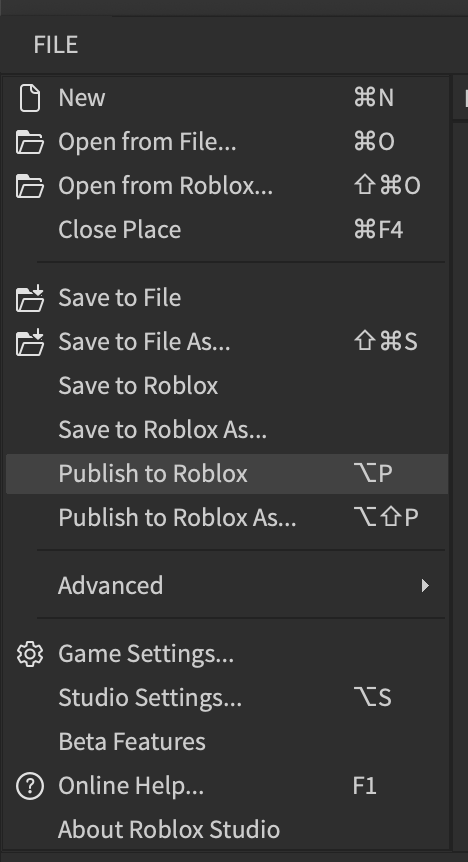
From there, you’ll be greeted with a window where you can add more details about your obby.
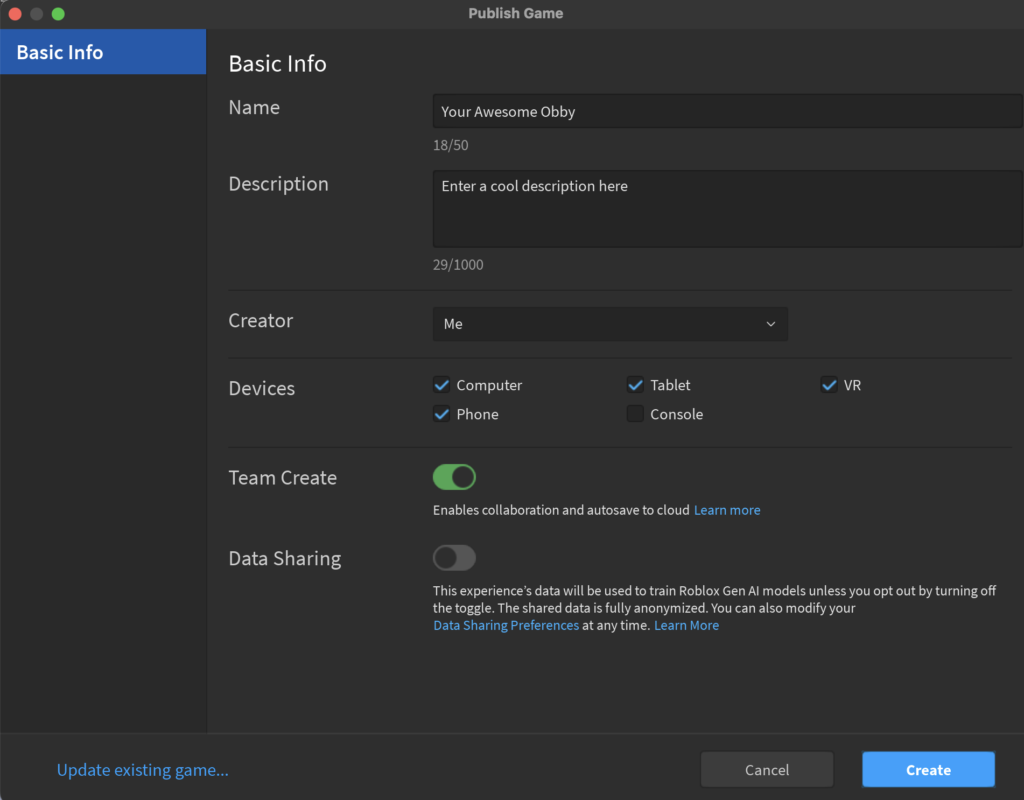
Once you’re done, click Create to publish your game onto the Roblox platform.
How to Find Your Game
Now, your game is live on the Roblox platform and you can find it by going here, but may not be active for other players yet.
This means that your game is private and others can’t find it.
If you want to make your game public (so that you can share it with your friends), it’s pretty simple.
First, go to this link and hover your mouse over your game and click on the “Manage experience” button.
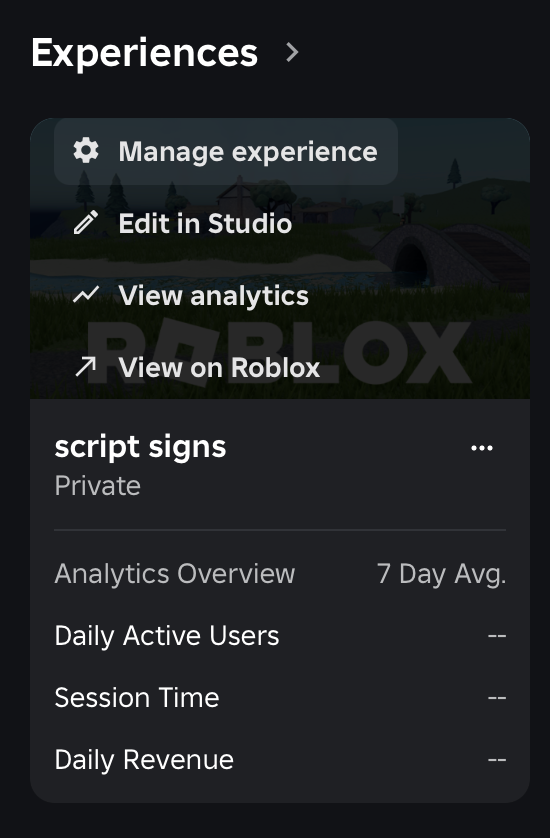
Then, you can scroll down and change the privacy settings here:

If you set it to Public, others will be able to play your game.
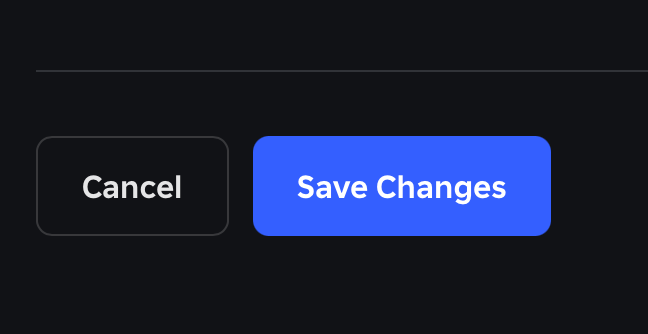
Lastly, make sure to save your changes by clicking the bright and happy blue button that says “Save Changes.”
Step 7: What’s Next?
Congratulations on completing the tutorial!
You just made a Roblox game from scratch!
You did great, and I’m proud of you.
I’m sure your game is proud of you as well.
Now, you’re probably wondering how you can make this game more advanced and add things like:
- a leaderboard to display the current stage players are in
- more advanced and fun stages (I have a ton of them in mind!)
- monetization (game passes to help you make money)
- a rewards stage
The good news is that I’m planning to create a paid course that will help you learn these things.
In the course, we’ll start right where this obby left off, and I’ll help you develop the skills needed to be able to script these things all by yourself.
If you’re interested in this course, please email me at kushal@kushaltimsina.com a message saying that you’re interested in the obby course and I will make sure you will know when the course comes out and get an early bird discount of 25% off when the course is published.
I would also recommend you sign up for Kushal Writes, a free newsletter where I share occasional tips on how to become a better game developer. This way, you’ll also be alerted when the course is published.
What Should I Do for Now?
Great question! In the meantime, I recommend you learn more scripting.
👉 You can start with my Beginner’s Guide to Roblox Scripting book by clicking here.
Every purchase helps support the blog so I can keep making free tutorials like this!
Once again, awesome job following the tutorial.
I hope you learned a lot and had fun.
See you in the next one!