Roblox Studio has tons of different windows. Learning all of them can seem very overwhelming for beginners. Luckily, I’m here to help! In this article, I’ll explain more about the properties window in Roblox Studio.
What is the Properties Window in Roblox Studio?
The properties window is a window in Roblox Studio that shows more information about the currently selected object in the Explorer.
How to View the Properties Window in Roblox Studio
If you can’t see the Properties window, look for the “VIEW” button at the top of Roblox Studio. From there, Properties is located all the way at the left, right next to the Explorer.
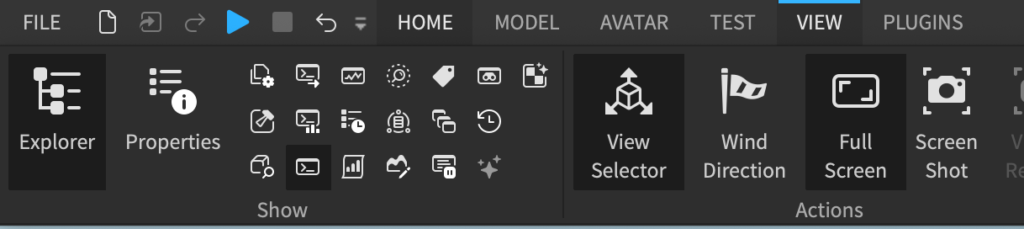
Clicking it will enable the Properties window, and you’ll be able to see it.
How to Use the Properties Window in Roblox Studio
Let’s say that you have a Part in workspace, and you’ve selected it on your Explorer.
If you don’t quite know what the Explorer does, please check out my other article on the Explorer window.
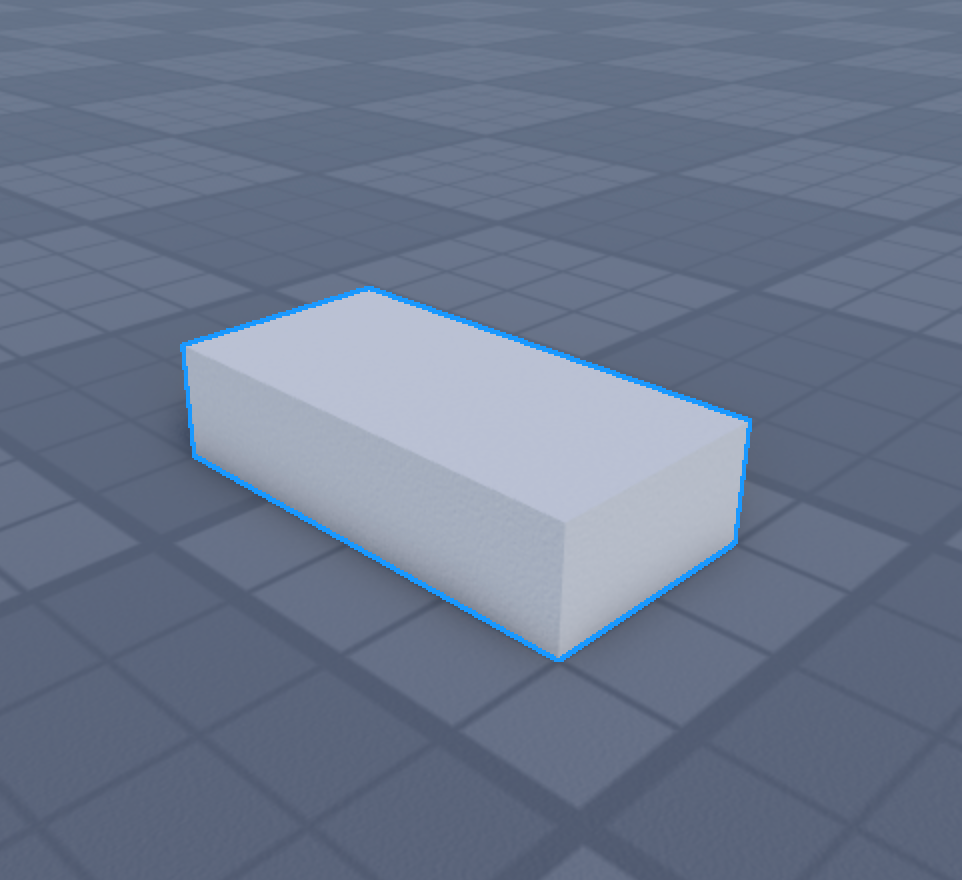
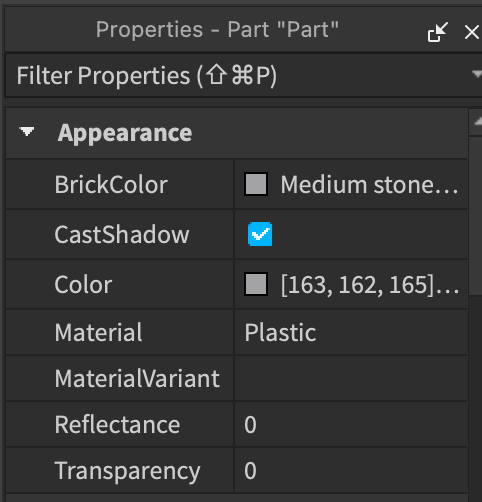
Then, the Properties window will show you more information about that Part, like its Size, BrickColor, and Transparency.
From there, you can change its properties.
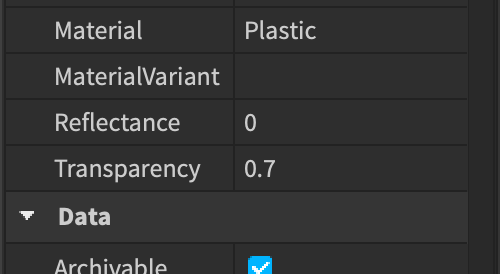
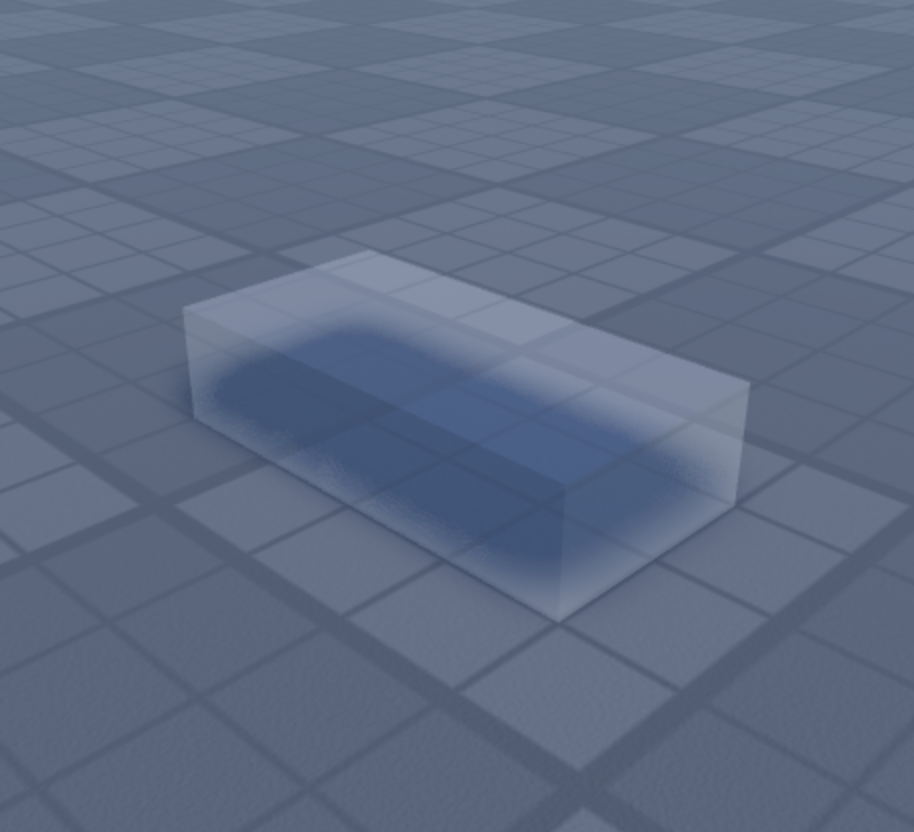
Changing the Transparency of a Part
For example, if you click on the 0 next to Transparency, and set it to 0.7, you will have a ghost part.
Changing the BrickColor of a Part
You can also change the BrickColor of the Part by using the Properties window.

I’ve set it to white here, and as you can see, the Part’s color has changed to white.
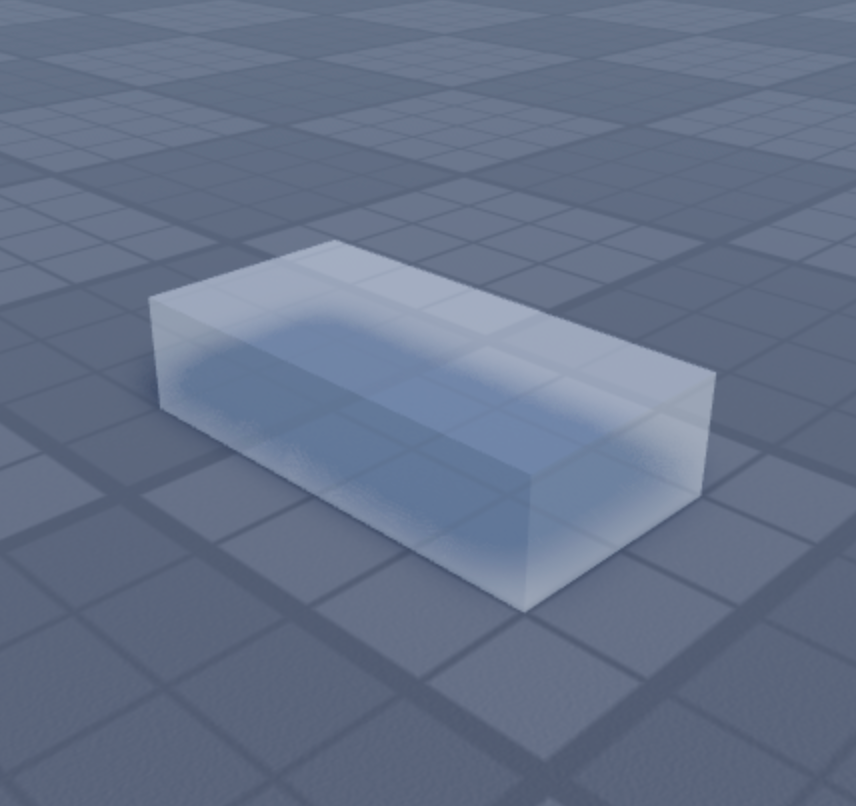
It’s an even spookier ghost Part now!
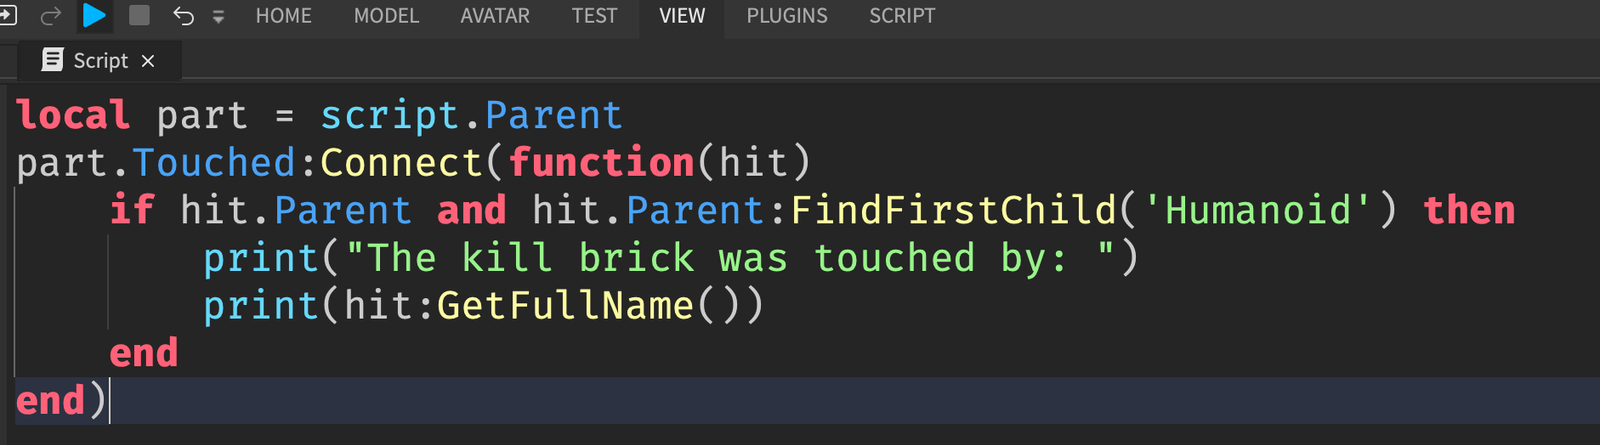
Now, if you’re interested in learning more about how you can use the Explorer and Properties windows together, check out this article on writing your first Roblox script.
And if you want to learn how I started scripting in Roblox, check out this article on my story as a Roblox scripter.